Recording is the foundation of music production. Whether you’re capturing a vocal performance, laying down guitar tracks, or building beats from scratch, recording is where your musical ideas become tangible. If you’re just stepping into the world of music production, understanding the basics of recording is essential. This guide will walk you through the fundamentals, tools, and best practices to get started with confidence.
What Is Recording in Music Production?
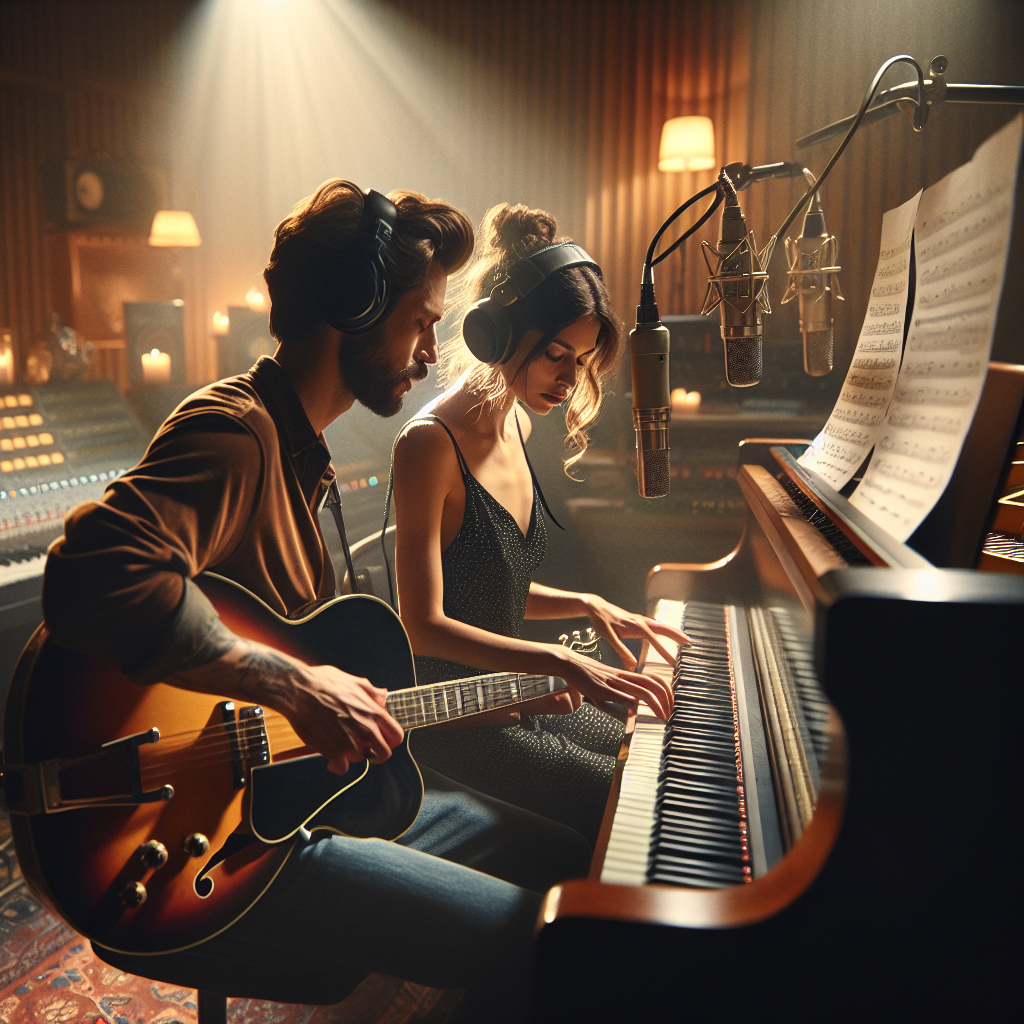
Recording in music production refers to the process of capturing audio signals—whether from vocals, instruments, or other sound sources—and storing them in a digital format using recording equipment and software. This process is typically the first step in the production workflow, followed by editing, mixing, and mastering.
The Recording Chain: What You Need
Before diving into how recording works, it’s important to understand the components involved. Here’s a basic overview of the essential gear you’ll need:
1. Digital Audio Workstation (DAW)
A DAW is the software where you’ll record, edit, and manipulate your audio. Some popular DAWs include:
- Ableton Live
- Logic Pro X
- FL Studio
- Pro Tools
- Reaper
Each DAW has its strengths, but most provide the same core functionality: multitrack recording, audio editing, MIDI sequencing, and plugin support.
2. Audio Interface
An audio interface acts as the bridge between your microphone/instrument and your computer. It converts analog signals (like your voice or guitar) into digital signals that your DAW can process. Look for an interface with:
- High-quality preamps
- Low latency
- Phantom power (for condenser mics)
- Sufficient input/output options
Popular beginner models include the Focusrite Scarlett series and the PreSonus AudioBox.
3. Microphone
There are two main types of microphones used in recording:
- Dynamic microphones: Rugged and great for loud sound sources (e.g., guitar amps, drums).
- Condenser microphones: More sensitive and detailed—ideal for vocals and acoustic instruments.
For beginners recording vocals, a large-diaphragm condenser mic is usually recommended.
Audio-Technica AT2020 Condenser Mic
Why it’s loved: Delivers clear and detailed sound, often compared favorably to more expensive models.
Best for: Vocals, acoustic instruments, and podcasting.
Samson Q2U Dynamic Mic
Why it’s loved: Versatile connectivity (USB and XLR), making it ideal for beginners and growing setups.
Best for: Podcasting, streaming, and home studio vocals.
Shure SM58 Dynamic Mic
Why it’s loved: Known for its durability and reliability in various settings.
Best for: Live performances and studio vocals.
4. Headphones or Studio Monitors
Closed-back headphones are best for recording because they prevent sound from leaking into the mic. Studio monitors (speakers) are essential for playback and mixing, but headphones will do in a pinch when you’re just starting out.
5. Cables and Stands
Don’t overlook the importance of high-quality XLR cables and a sturdy mic stand. They’re inexpensive but crucial for a clean and comfortable setup.
Preparing to Record
Once you have your gear set up, it’s time to prepare your session.
1. Set the Sample Rate and Bit Depth
For most beginner projects, a sample rate of 44.1kHz and bit depth of 24-bit is more than sufficient. This provides a good balance between audio quality and file size.
2. Create Tracks in Your DAW
Add an audio track for each sound source you plan to record. Label them clearly (e.g., “Lead Vocal,” “Guitar,” “Backing Vocal”).
3. Check Levels
Proper gain staging is key. Set input levels so that the loudest parts of your performance peak around -6dB to -10dB. Avoid clipping, which happens when the signal exceeds 0dB and causes distortion.
4. Enable Monitoring and Arm Tracks
Enable input monitoring to hear yourself through the headphones, and arm the tracks you want to record. Most DAWs have a small red “R” button to do this.
Recording Techniques and Tips
Recording may seem as simple as hitting the record button, but good technique makes a big difference.
1. Record in a Treated Space
Even a few basic acoustic treatments (like foam panels or blankets) can greatly improve your sound. Try to record in a quiet, non-reflective environment.
2. Use Proper Mic Placement
Distance and angle matter. For vocals, start with the mic about 6–12 inches away from the singer’s mouth. Use a pop filter to reduce plosives (harsh “p” and “b” sounds).
3. Use Multiple Takes
Don’t be afraid to record several takes of the same part. This gives you options when editing and helps build a more confident performance.
4. Stay Organized
Name your tracks and takes clearly. Use folders or color-coding if your DAW allows it. A messy session slows down editing and mixing later.
Common Recording Mistakes to Avoid
- Clipping: Always leave headroom. Red meters are a red flag.
- Too Much Reverb in the Room: If you hear a lot of natural echo, it will be difficult to control later.
- Poor Monitoring: Cheap earbuds or laptop speakers won’t help you make good decisions.
- Overprocessing While Recording: Record clean; save effects for mixing.
After Recording: What’s Next?
Once your tracks are recorded, you move into the editing and mixing phases. At this stage, you’ll cut and arrange takes, clean up audio, add effects like EQ and compression, and balance the mix. But it all starts with solid, clean recordings.
Final Thoughts
Recording is both a technical and creative process. While gear and software are important, the most crucial element is your ear. As you practice and listen critically to your recordings, you’ll develop a better sense of what works and what doesn’t. Start simple, experiment often, and don’t get discouraged if your early recordings aren’t perfect.
Every producer starts somewhere—what matters most is that you start.